Magentic shielded XLR Cable 11401
Step by step preparation:
Measuring and cutting the wire to desired lenght
(note: manual measuring, pls allow some tolerances)

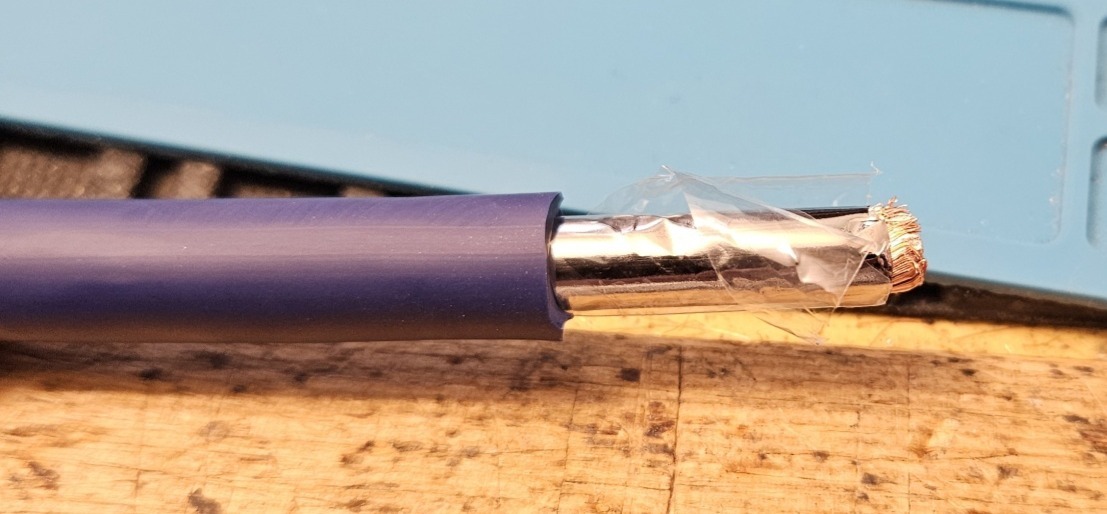
Removing outside PVC jacket
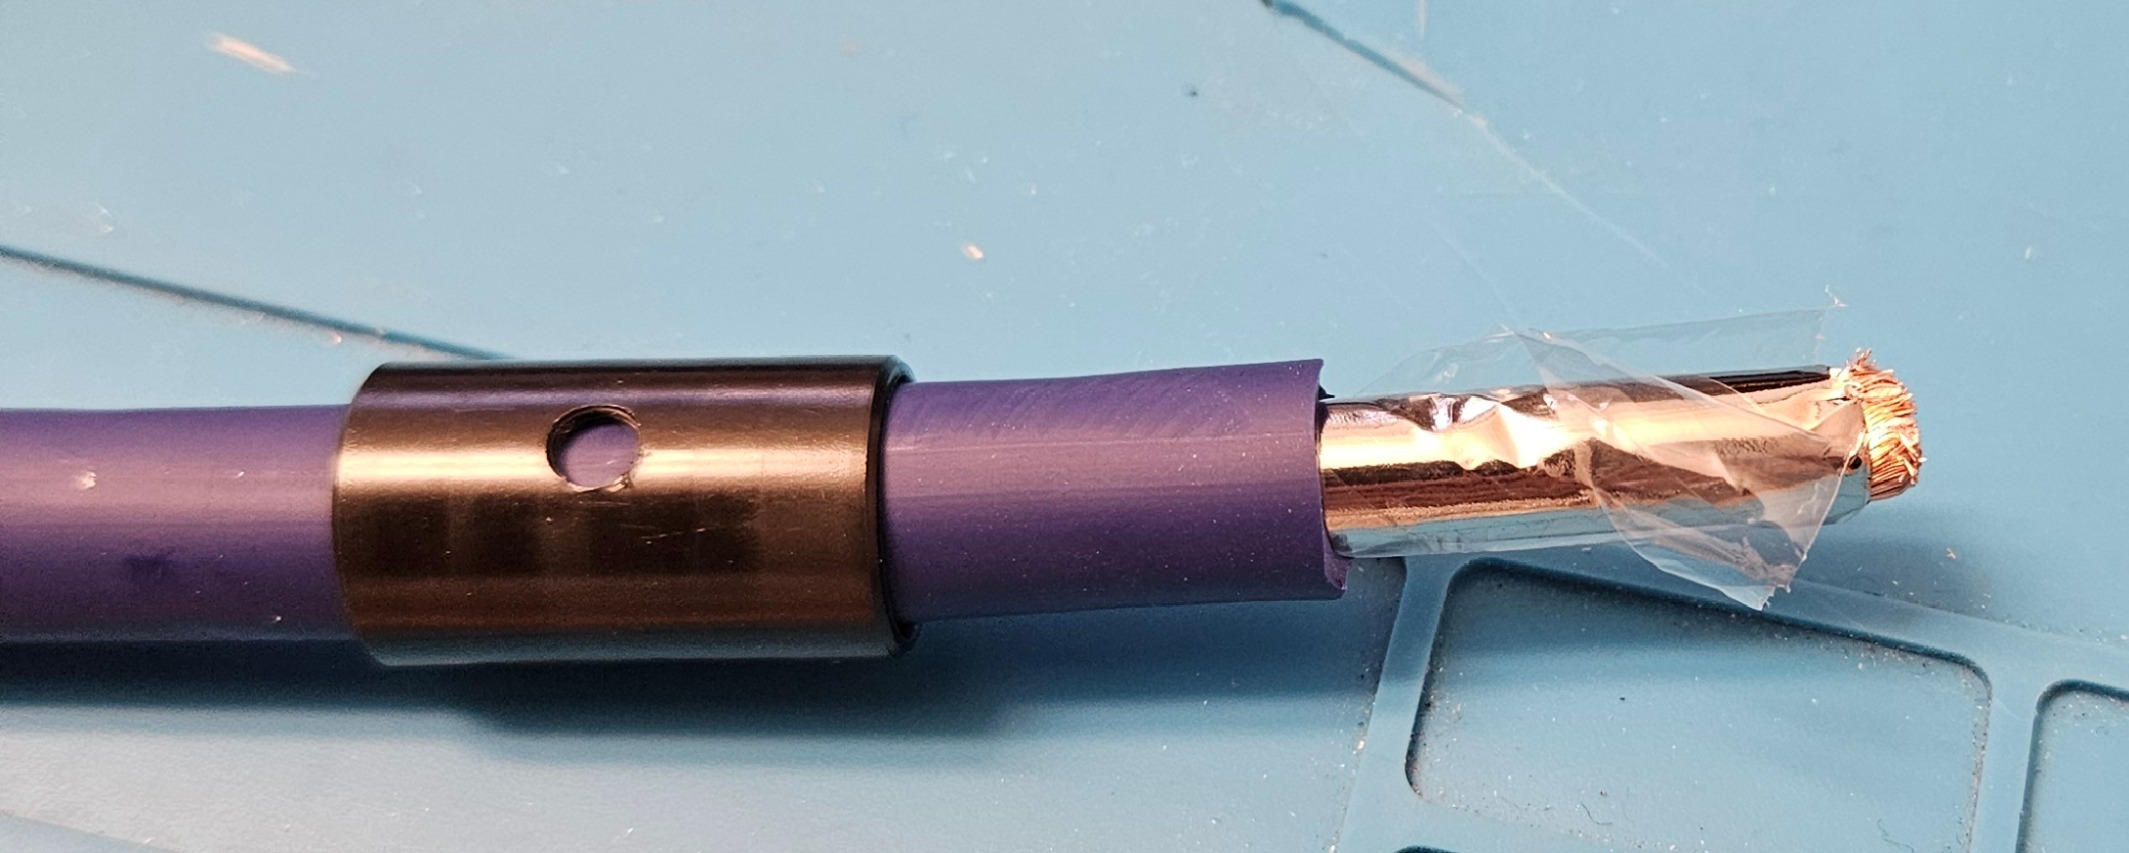
Adding the cable ring for strain releife
Removing Mu-Metal tape. Attention very sharp material
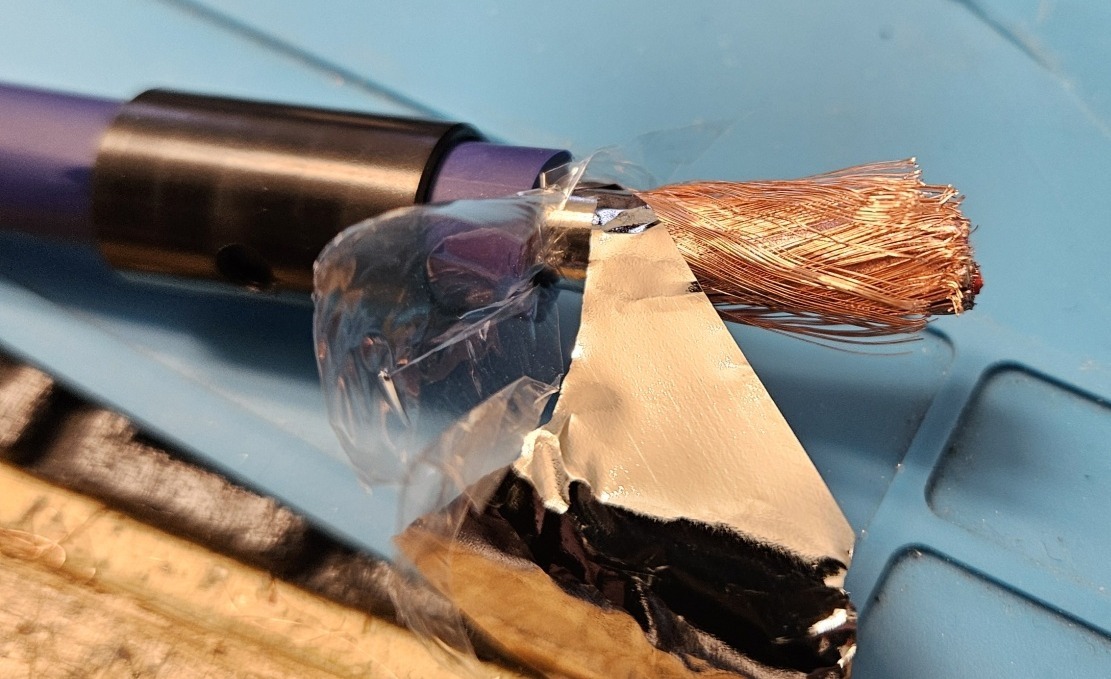
Sorting all shields from conductor and overall shields
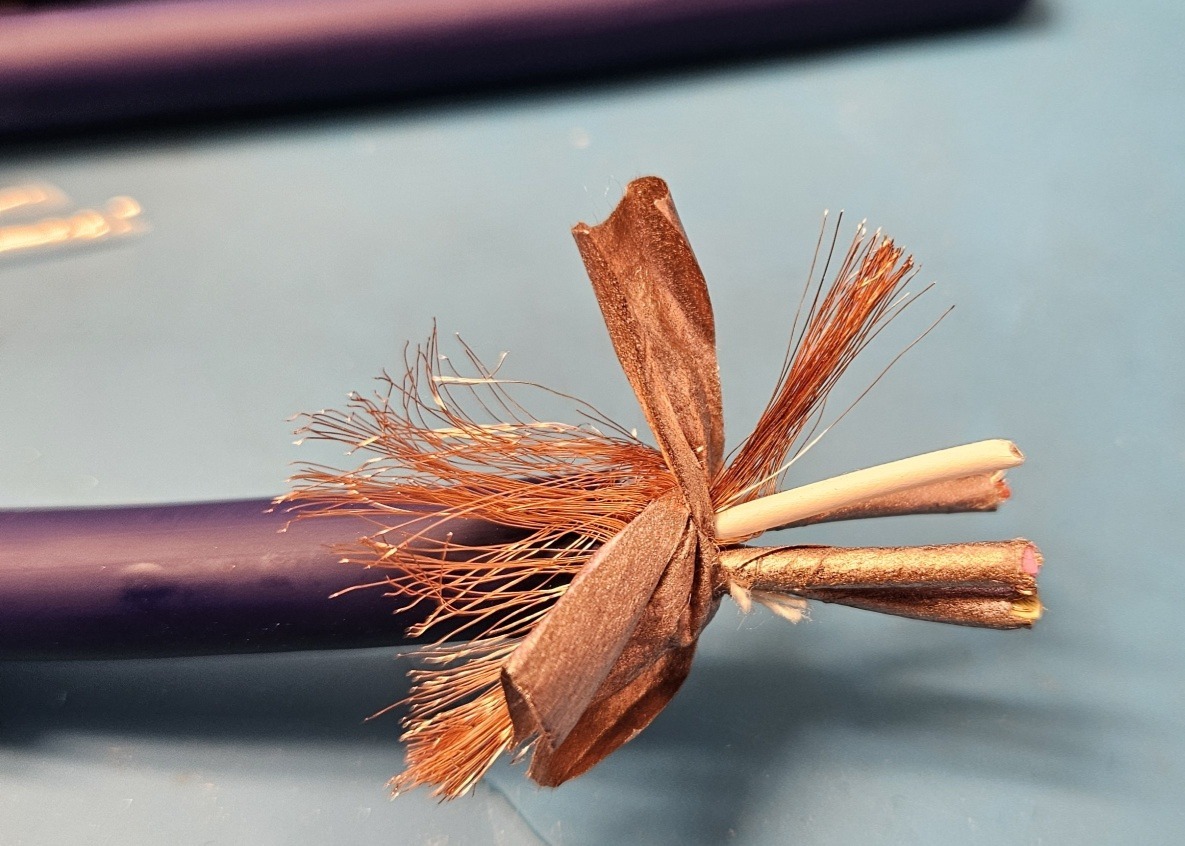
Bundle all shields (part of them OK) into one ground conductor.
Remove K6160 copper tapes and cotton fillers.
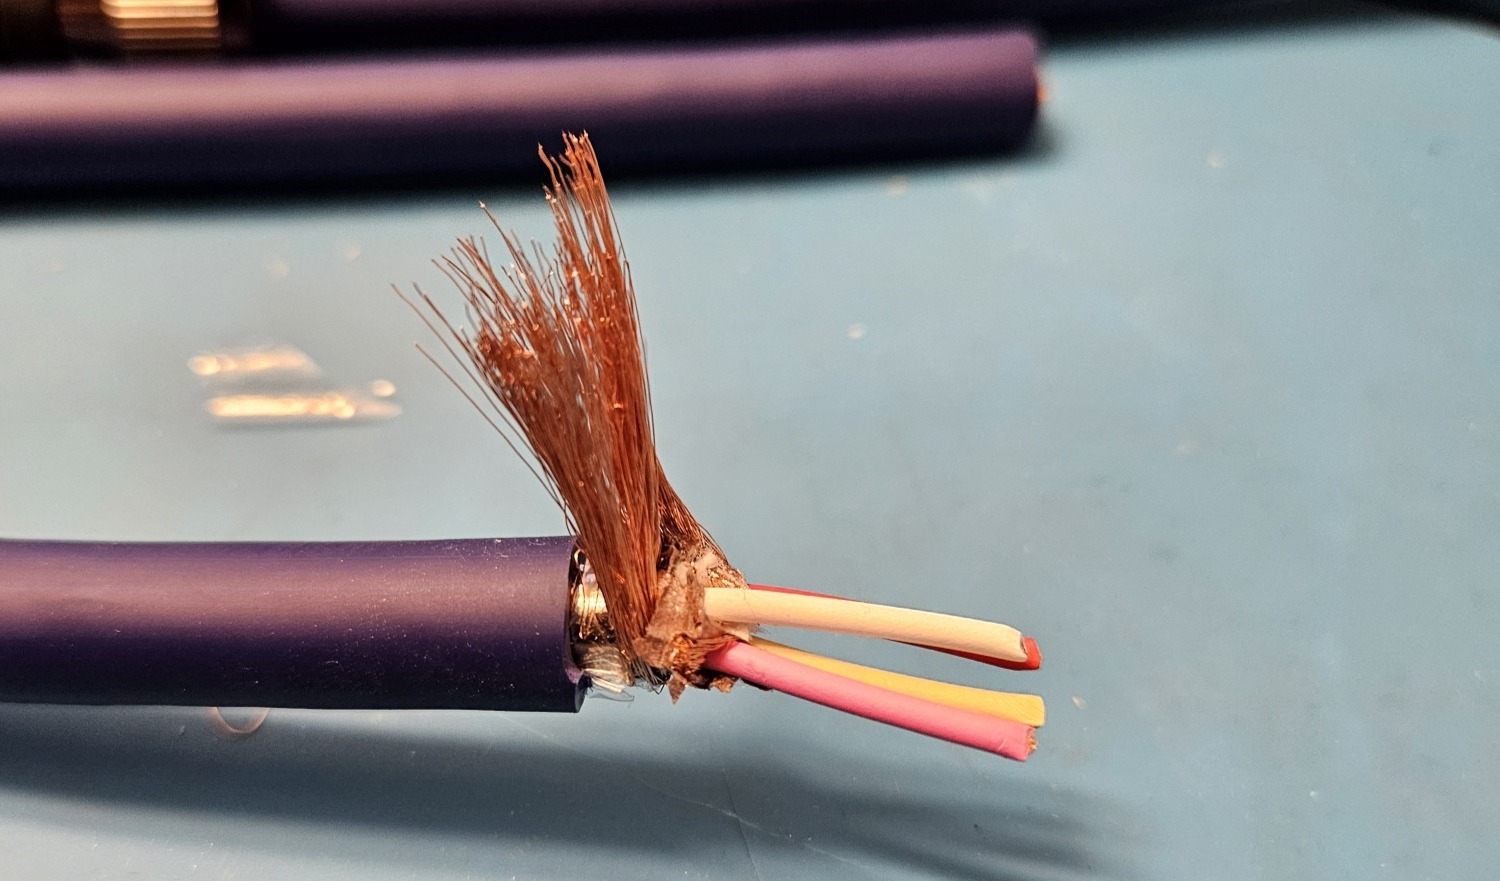
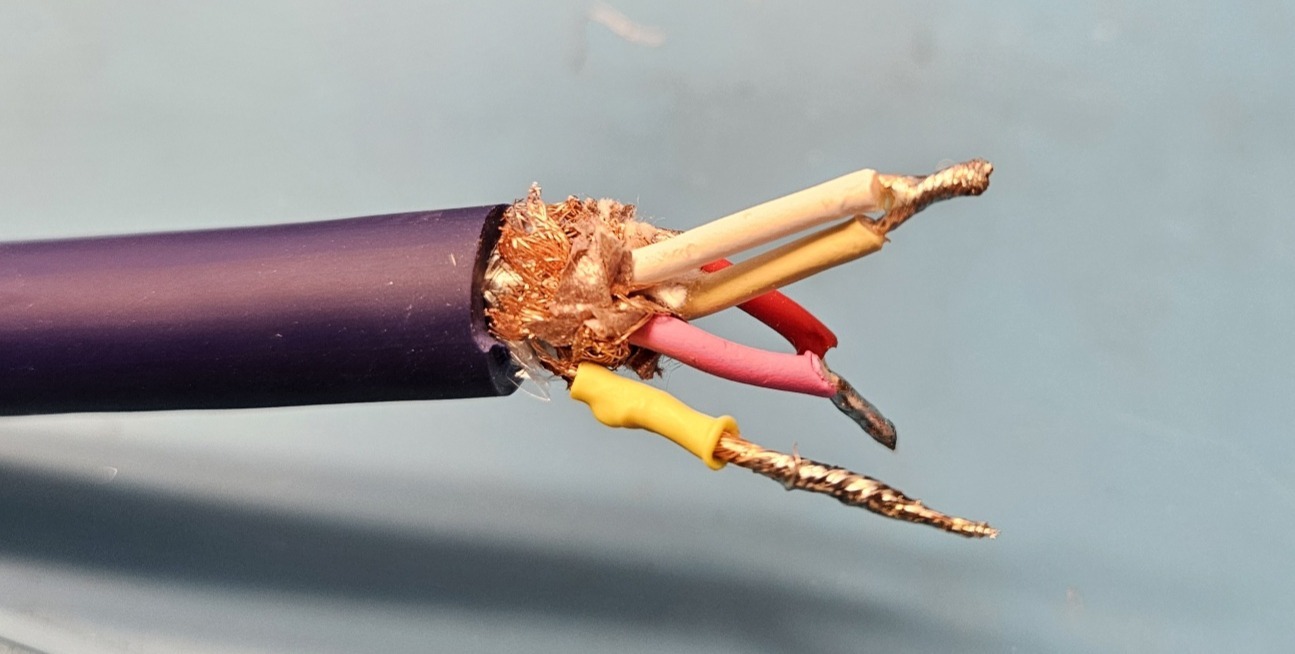
Create a ground line for contact to Pin 1

Solder groundline and each 2 conductors (starquad) to create signal hot (to pin 2) and signal cold (to pin 3) lines.
Bundle red and pink as hot, and white and ivory as cold signal for starqiuiad balanced configuration.
Solder red/pink to Pin2 at XLR, white/ivory to pin 3 at XLR and ground (all shields) to Pin 1 at XLR

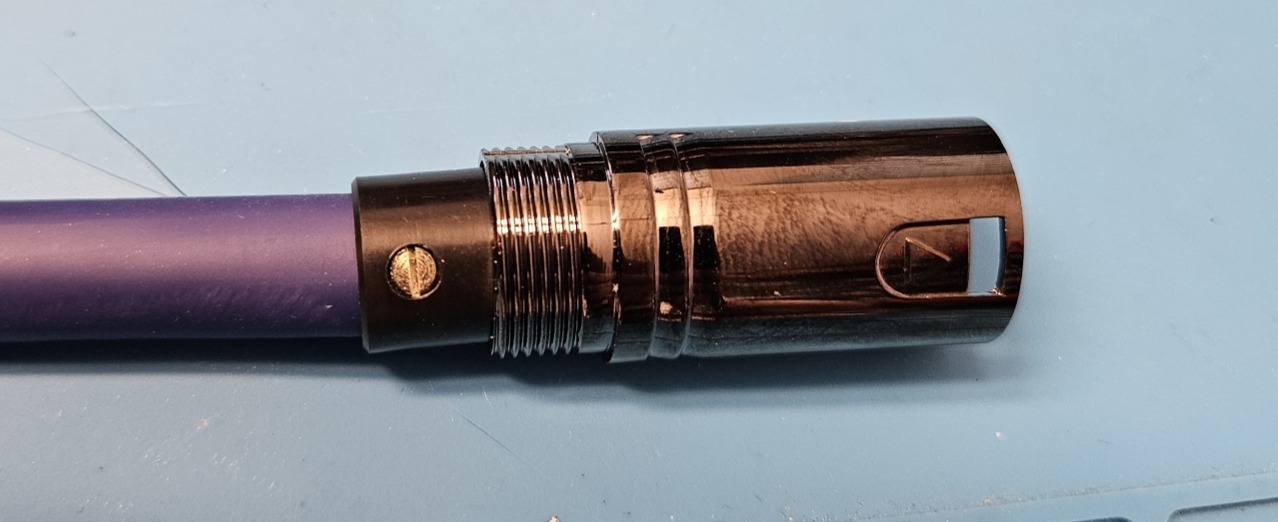
Insert the XLR into the body shell of the connector and secure the ring with the 2 screws.
Mount the back cover to complete the XLR connector. Now shown with an optional color code (red=right channel)
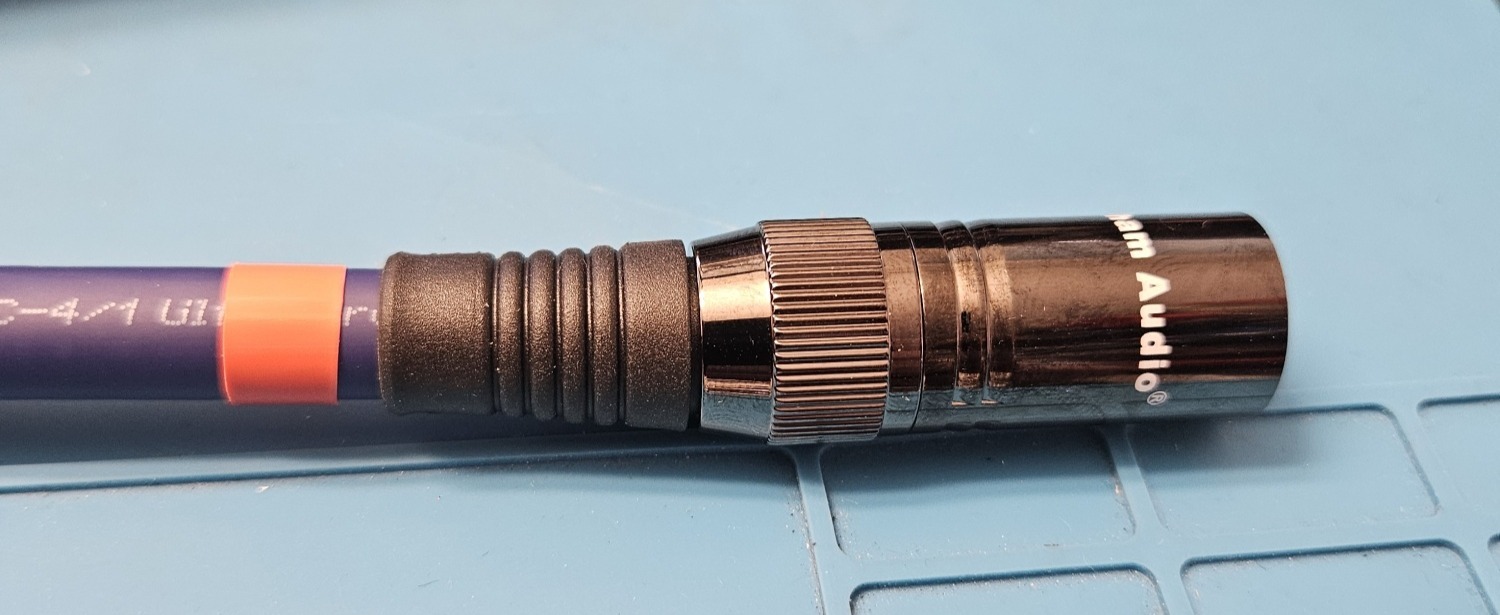
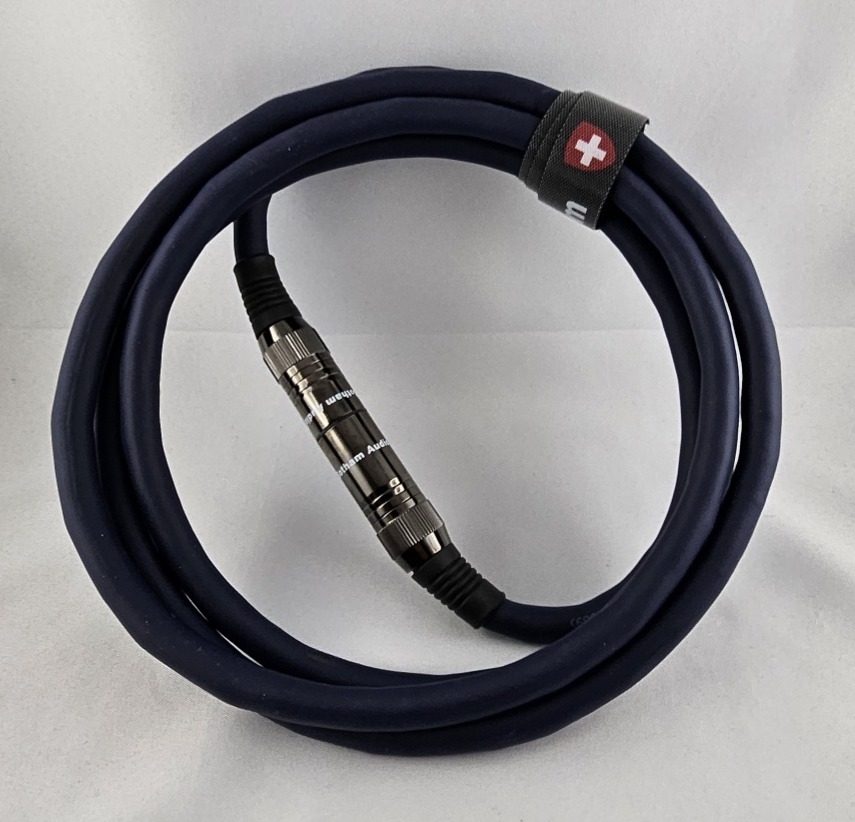
Finished product after tresting and preparation for shipping
+/- 1m We can adjust the desired cable length! All is made à la Carte, one by one.
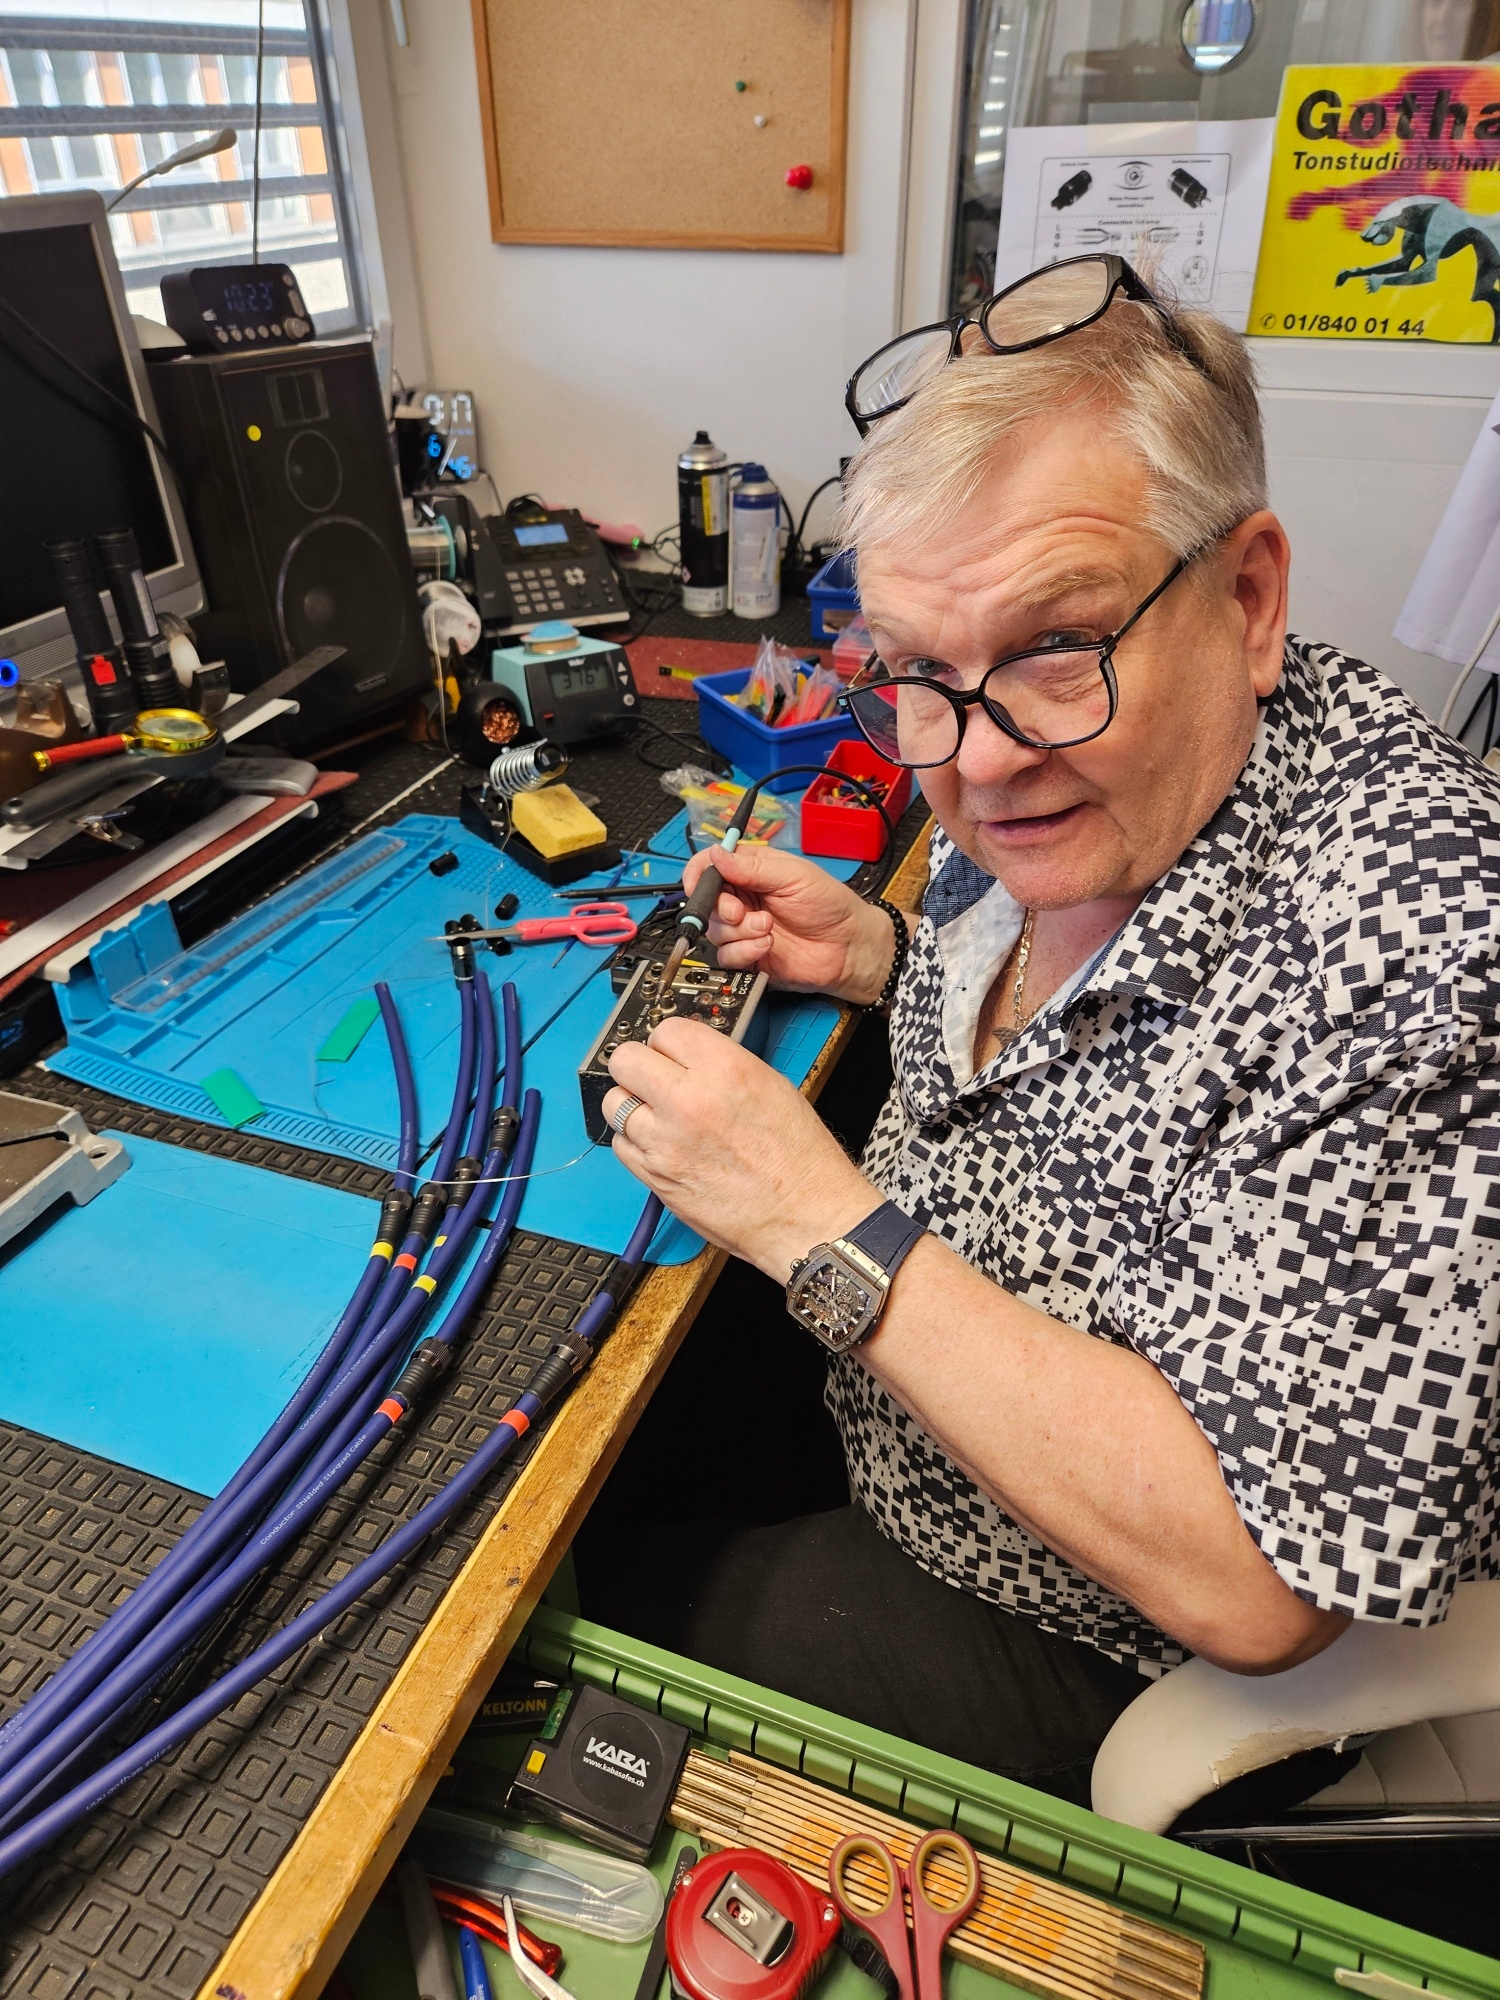
Prices indicated are always per piece with a 3 meter length. If you need a pair, please order 2pc. We assemble each cable manually in our own lab in Dietikon. Allow a few days delivery delay. Some stock available for immediate shipment. We can only invoice full meters but you can ask your cable per cm specified. Therefore 1.50 meter would be charged like 2.00 meter. We will confirm/quote correct price/delivery after receipt of your inquiry/order. All cables are made individually and indicated dimensions and lenght are estimated and possible tolerances of +/- 3% are possible.
 Shipped from Switzerland: Cable assemblies we can only ship from Swiss sales office in Dietikon Switzerland.
 We use
 for all cable assemblies but can get other brands as well.
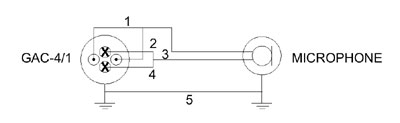
Starquad wiring instruction:
In order to benefit from the Starquad concept you need to wire the 4 conductors for you balanced audio cable as follows: (See wiring diagram below)
Bundle each opposite (Star) conductor together, we made colour code easy to identify the opposite conductor. (red/pink and white/ivory each belong together.)
Pin2= red&pink (Signal+), Pin3= white&ivory (Signal -). Pin1= shield 1&2 =Ground
Put each a few strands of each layer of the shields together to ground Pin 1 should you not have space for all shielding strands.
Cut away any spare strands from the shields and secure that no loose strands are hanging around. Use a shrinking tube to avoid short circuits.
We do not recommend putting any ground to the body shell on either side of your XLR line. The connector shell will get to ground once plugged into a receptacle.